Jan 14, 2023
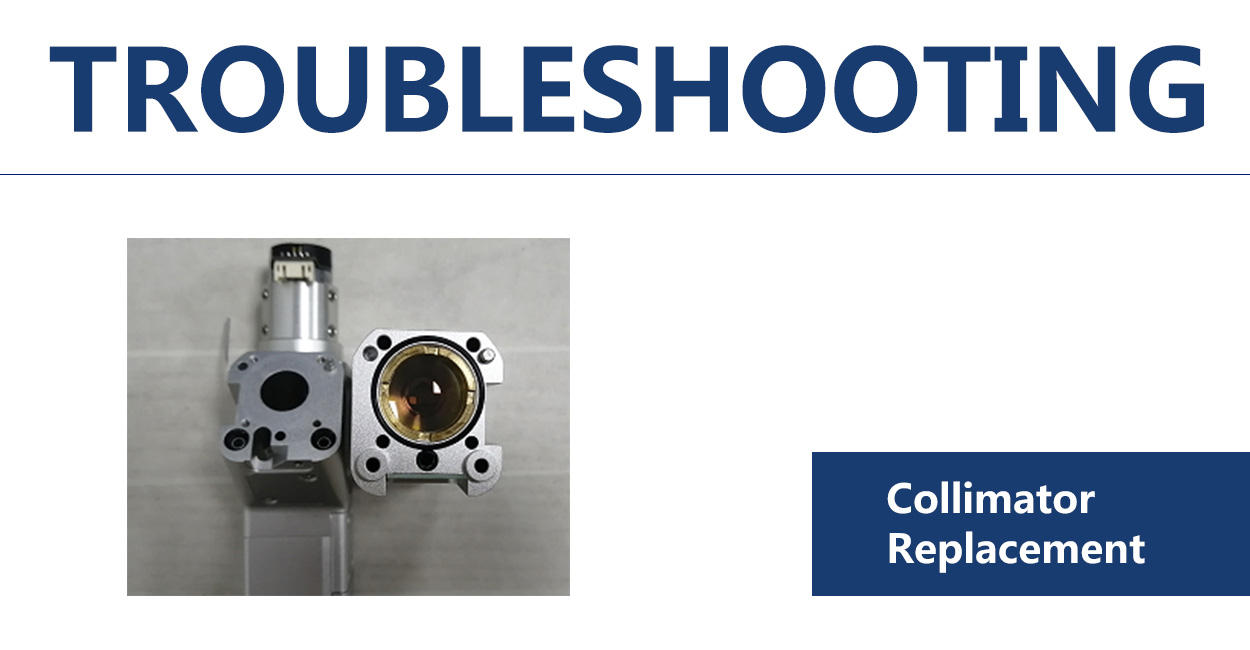
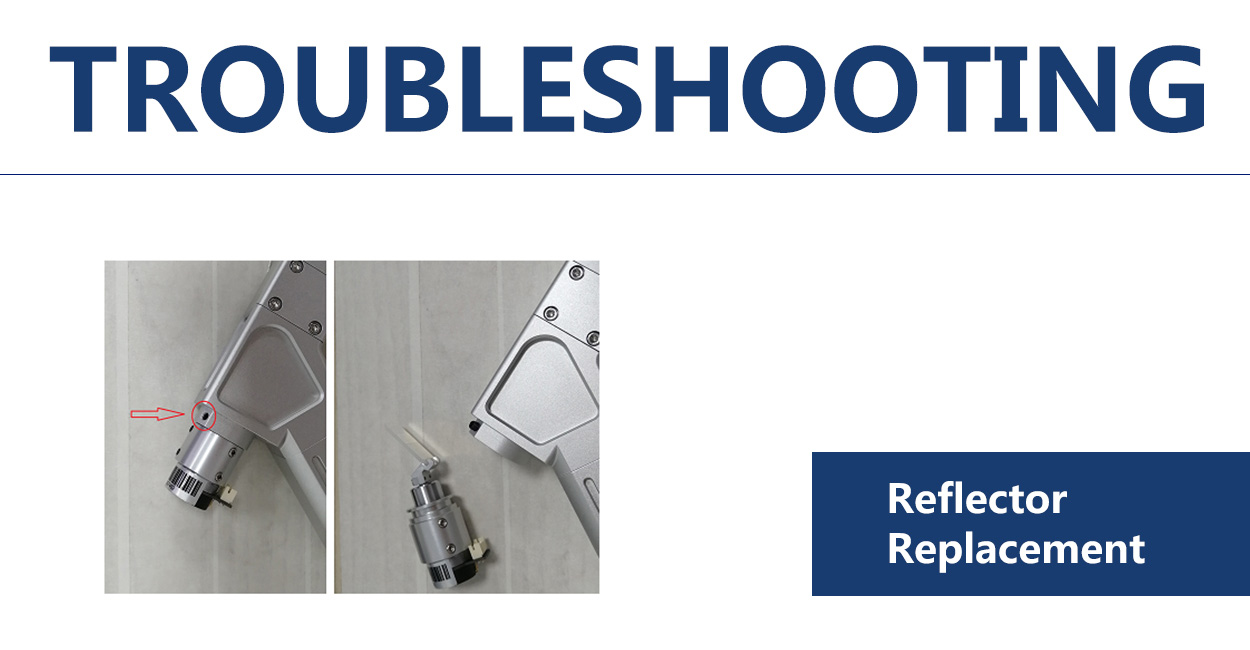
The solutions of welding head problem: do not feed wire
Operating logic:the wire feeder connects to the 5/6 pin of the signal interface of the control box by the two-core plug signal lines in the terminal. When the system is running, the built-in relay in the control box mainboard and 5/6 turns on, and the wire feeder starts to work (that is, the 5/6 pin controls the on-off). When there is an outflow of light but no wire: First look at the setting of the wire feeder, whether the pulse parameters are normal. Please set according to the figure (individual versions do not have a pulse function, you don’t need to set) If all the above is no problem, we first determine whether there is a problem with the control of the wire feeder Click on the front panel of the wire feeder [Manual Wire Feeding] to observe whether the wire feed wheel is running 1. If the wire feeder does not run, the wire feeder itself has a problem, and please replace the mainboard. 2. If the wire feeder runs, please continue to operate according to the instructions below. We first short the signal line of the wire conveyor, which located in the tail of the wire feeder with two cores of the plug, and after unplugging, to find a wire to short connect 1. If the wire feeder is running, you can determine that the wire feeder is no problem, and please continue to follow the following operation. 2. If the wire feeder is not running, it can be determined that there is a problem with the wire feeder mainboard and please replace the wire feeder mainboard. In the first case, plug in the two-core aviation plug at the tail of the wire feeder, and unplug the 5/6 pin of the signal interface of the system control box. Then shorten the signal line of the wire feeder (not shorted to 5/6 pins). 1. If the wire feeder is not running, it can be determined that there is a problem with the signal line, and to replace the signal line is Ok. 2. When the wire feeder is running, it can be determined that there is a problem with the system mainboard, and please replace the system mainboard or use the following measures for a temporary use. The signal line of the wire feeder is controlled by the 3/4 pin of the signal interface two to control the signal line on and off, and the wiring is defined as follows (the two-core signal of the wire feeder uses the normally open foot of the relay)
View More


 IPv6 network supported